DIY Memory Board| AilishElizabeth
Hey guys, today's post is something that I'm super excited to do, because it is my first DIY on my blog and is super easy to do, also I'm in love with my memory board!
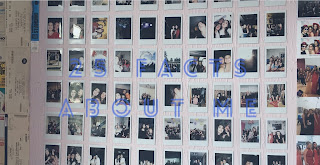
So this is what my memory board looks like, it is a collection of pictures and train tickets and cinema tickets.

All you need to make a memory board is...

1- A board, this is what all your pictures will be put up on. You can use a cork board or I used the back of an old photo frame.
2- Pictures, it really doesn't matter how many you use, it depends on the size of your board.
3- Tickets, I used train tickets, cinema tickets and my One Direction wrist band, however you don't have to, you can just use pictures.
4- blue tack, you can use pins, however I just used blue tack.
5- Finally you will need these,
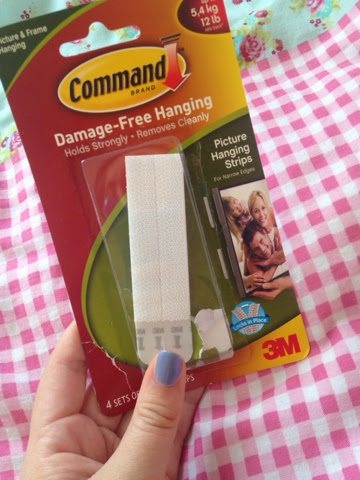
They are damage free, you put them on the back of the board and on your wall and it hangs up anything, it holds them strongly and doesn't damage your wall.
How to make your memory board!
The first thing you need to do is set out your pictures on your board in the order you want, don't blue tack them down until you are certain on the layout.
Then once you like the layout you can blue tack them down, like so...

Once you have done that you can put on anything else you want on your memory board, for me it is tickets. I also hung up my The Fault In Our Stars fan screening pass over it.
Then all you have to do is put it up on your wall, and here is what it looks like at the end.

These are great to remember times with friends and family, and you can also keep changing the layout and the pictures on the board. These are super easy to do and don't take that long, however I do recomend listening to music or watching something whilst you are doing it, as if you can not decide on the layout or the pictures it can take a while.
I hope you enjoyed this and you try making a memory board, they are really easy to do and add a bit of personality into your room.
Love
Ailish Elizabeth
Xx


Comments
Post a Comment